Here are some pretty nifty ideas on ways of making your notes of love way more cool!
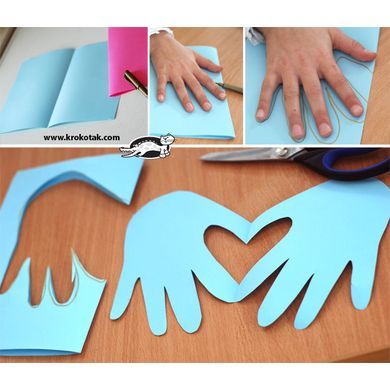
1. Hands forming a heart:
Materials you need: Paper, pencil, scissors & your hand
First. Take a piece of paper (8.5 x 11″) and fold that in half.
Second. Trace your hand upon the half with your thumb bumped up again the fold of the paper. That curve between your thumb and index finger will create the half of the heart.
Third. With the paper remaining folded, cut out your hand trace.
Fourth. Open up the fold and you will see two hands forming a heart in the center.
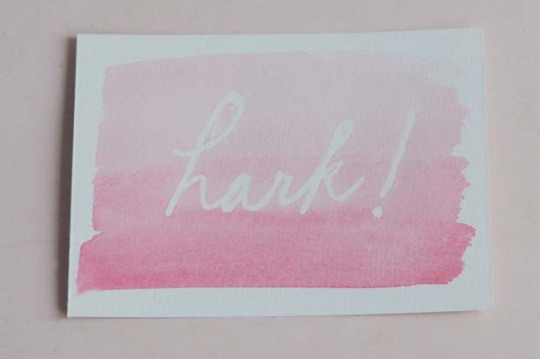
2. Masking fluid card:
Materials you need: Watercolor paints, masking fluid, watercolor paper, brushes, pencil, eraser, jar of water to clean off brushes
First. Lightly draw your design with a pencil on the paper
Second. Carefully apply the masking fluid with a brush, make sure to rinse your brush afterwards
Third. Allow it to dry completely.
Fourth. Once the fluid has dried, apply watercolor wash over the top. This is the best part of the process. Gradient washes look very cool!
Fifth. Allow the watercolor to dry completely.
Sixth. Once the paint is completely dried, take your eraser and use it to “pick up” the fluid.
Seventh. Revealing your beautiful design!
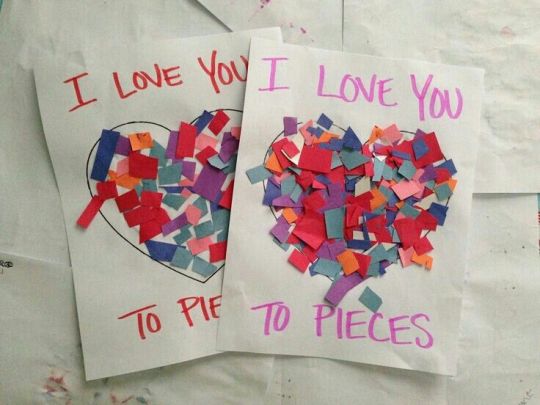
3. I love you to pieces!
Materials you need: cardstock paper, various colored construction paper, newspaper, scissors, glue
First. Write “I love you” with a large heart below and “to pieces” below that.
Second. Cut various pieces of construction paper in different colors.
Third. Swirl glue within the heart shape and scatter the pieces of paper and press lightly. Let dry.
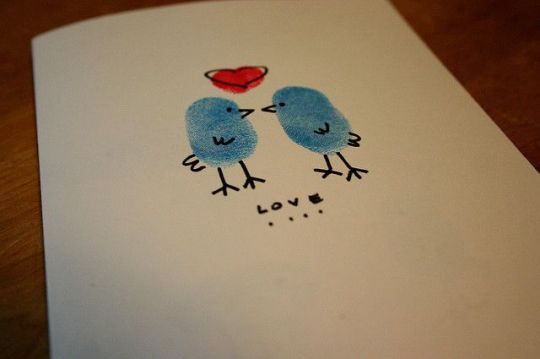
4. Thumb print card:
Materials you need: ink pad (various colors), pen, paper, your finger
First. Press your thumb or any finger you’d like to use onto your ink pad, make sure you have enough ink on there so it shows up best on paper.
Second. Press your finger on to the piece of paper, think of cool things it could be, like two thumb prints together to make a heart or two thumb prints side by side to make little love birds.
Third. Let the finger prints dry before adding any details.
Fourth. Once everything is dry, add your details like an outline around the prints, or little eyes, feet, make it look cool!
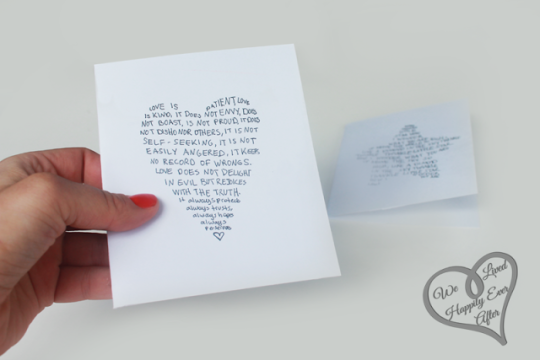
5. Heart/star shaped poem:
Materials you need: shape stencils, pencil, pen paper
First. Create your own stencil or use an existing one. Lightly trace the shape on to the piece of paper.
Second. Write within the shape your poem or message with a pencil.
Third. Trace your poem or message with a pen.
Fourth. Let the pen dry and erase the pencil marks.
Fifth. Hooray, it looks cool!
Spread the love!
